Category Archives: Interactivity

community concept funding Interactivity

Introducing our Karaoke Rickshaw!

Through-Street Deployment 1(1)

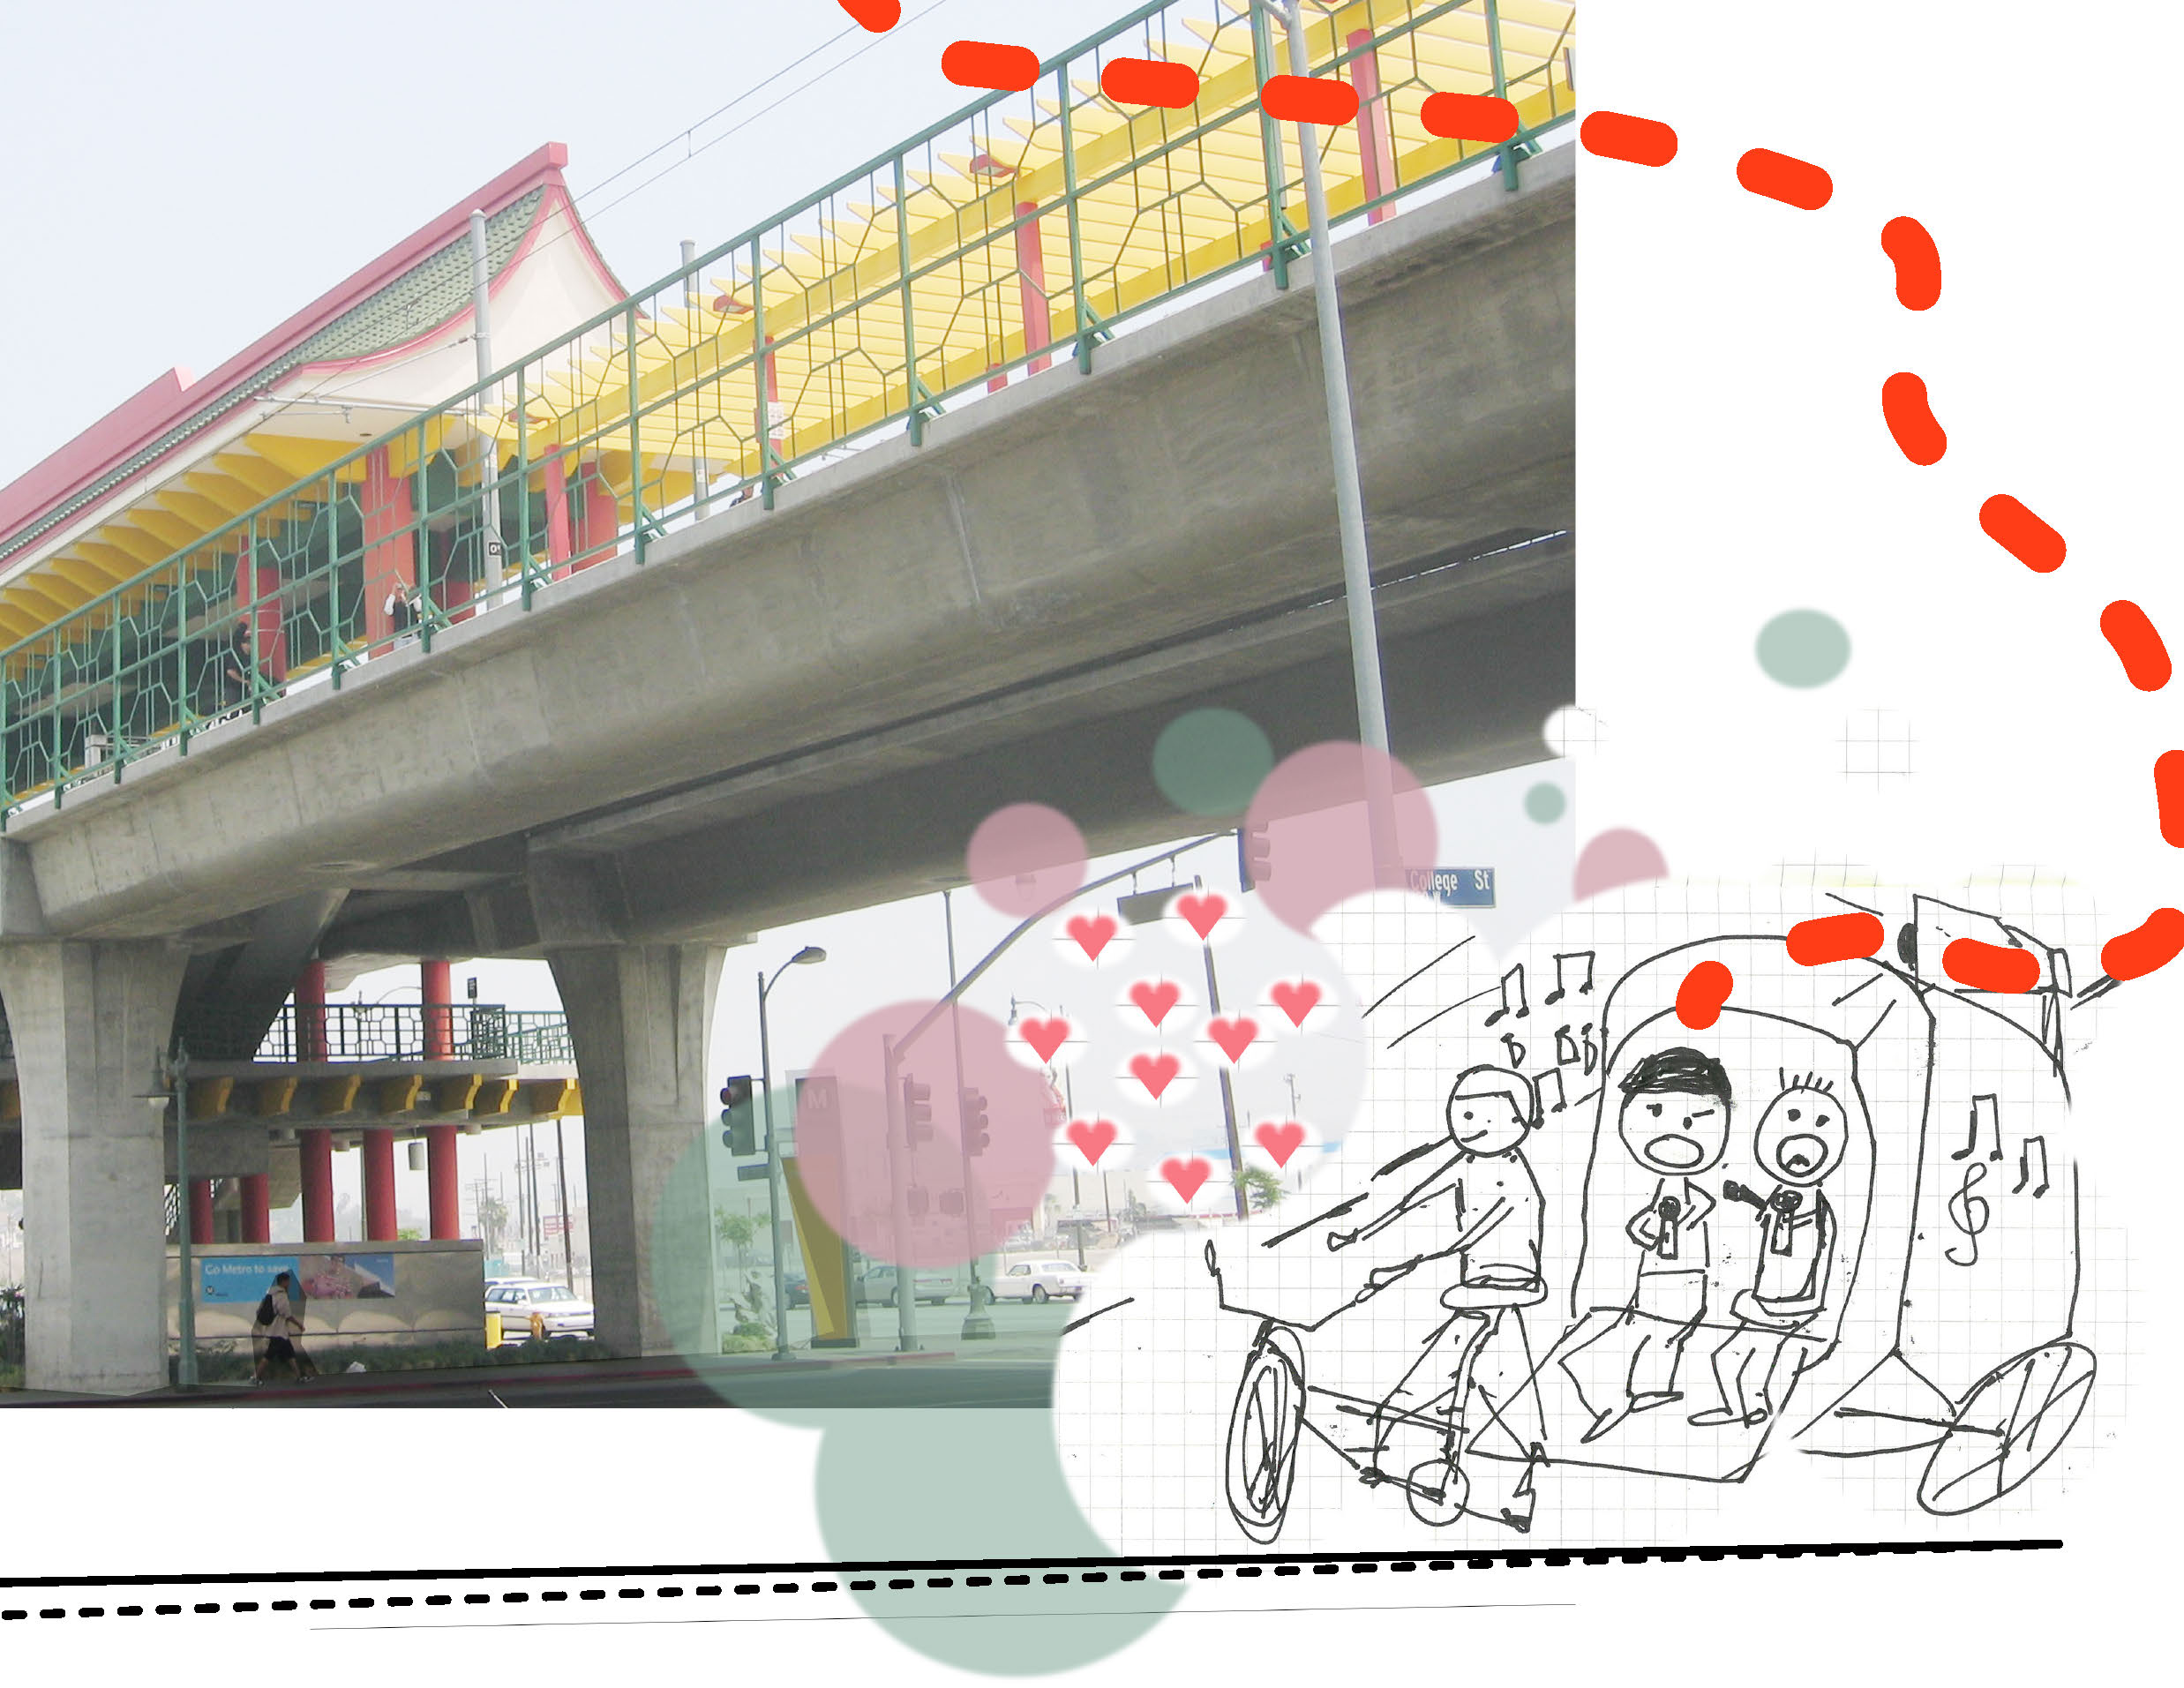
We are excited to announce that we received a microgrant from Metro for a new project: Karaoke Rickshaw!! Our Karaoke Rickshaw will join efforts with a couple of other mobility-related art projects funded through Metro’s Rideshare Program to amplify creative responses to collective mobility in Los Angeles.

Traffic blues and ride anthems?!

During the Rideshare Week in October 2015, we will stage a nomadic series of participatory karaoke events through the streets and at transit hubs such as metro stations, bus stops, sidewalk, parklets and plazas, including a cyclist-centered event supported by a ride led by Flying Pigeon. Through song performances and interviews, ride-sharers and commuters will share journey stories and provoke ideas and visions for co-mobility in LA. We are collaborating with students from Occidental College’s Center for Digital Liberal Arts to document ridesharers’ stories.

Our Rickshaw Schedule:

  • Tuesday, October 6
    Stationed at Wilshire/Western Metro Purple Line Station, 7-10am.
    Procession from Koreatown to Hollywood, 2-5pm
  • Friday, October 9
    Chinatown, Sun Yat Sen Plaza, 2-4pm
    Procession from Chinatown to Innovation Week, Pershing Square, 4-9pm; ride coordinated with Flying Pigeon. Details soon!

On-the-hour schedule will be tweeted in real time from @movablepartpart the day of the event.

In the mean time, follow the metro #ShareTheRide hashtag on Twitter for updates. We will be posting information specifically related to the mobile karaoke using #MovableKaraoke.

Facebook event: https://www.facebook.com/events/179315945738587/


Arduino design Interactivity workshop

Interactive Design Update: A Sequencer in Max/MSP

Steve redesigned the interactive component of the Movable Party machine. This time, Steve made the the Max interface function like a sequencer. The rider can use the hub motor sensor (RPM) to advance through a sequence of preset patterns while varying the BPM and and pitch. Enjoy.

Arduino Interactivity Sensors

Interruptions and Interrupts

In my earlier post RPMs to BPM, I demoed a fairly simple hall effect circuit that I used to control the playback speed of an audio file in Max. In the video, I wave a magnet in front of the sensor and used the resulting data to trigger a “bang” in max. This method worked fine in my demo as I could not trigger the sensor very quickly. When I hooked the sensor up to the bike, I realized that above a certain rotational speed, the software would “miss” rotations. [I have since switched to using the sensors in the hub motor, but they present the same issues]

2013-04-01 21.30.26

Thus I realized I had a problem. Though the Arduino has no problem catching the incoming sensor data (it typically executes code in the range of microseconds (1 millionth of a second), I was running into trouble passing the data between the Arduino and Max. Without getting too technical, the data transfer speed was too slow.

As someone who tries to be primarily concerned with the realization of creative projects rather than elegant technical solutions, I will admit that I always aim for the simplest solution even if it isn’t the most efficient. Sometimes, as in this case, the simplest solution (handling all of my data calculations in Max) just isn’t going to work. I realized I was going to have to calculate RPMs using the Arduino and then transmit a running tally of the current RPMs to Max (along with data from the Force Sensing Resistors, as seen in this video). I knew that this could pose a large technical problem. I would need to calculate the RPMs by taking the triggers from the Hall effect sensors while at the SAME TIME I would need to be constantly updating the data from the Force Sensing Resistors. Typical Arduino sketches have one function–loop(), which runs over and over while the board is on. Pausing to wait for incoming data from the Hall effect sensors would delay the execution of my code and stop the data being sent to Max–I needed to do two things at once.

Fortunately in the world of open source technology, the solutions to many technical challenges lie online. This great example by Zitron shows how to use hardware interrupts to read in the data from the hall effect sensor outside of the loop() function.

Interrupt

The result is that I can just send a constantly updated stream of RPM data to Max. This turns out to be a much better solution, because if I miss a sensor trigger between the Arduino and MAX, the RPM data will be wrong (sometimes VERY wrong). If I miss one read of RPM data, it’s not a big problem because I am constantly sending the current number of RPMs.

The bigger lesson here is that the easiest solutions are always the best, but sometimes an easy solution just wont work. In that case you have to delve deeper. While you don’t want technical complexity to derail your project, sometimes more complex solutions end up being the most elegant.


Arduino design Interactivity Music Sensors workshop

Video from Workshop #2: Arduino and Sensor Fun!

Movable Party 1.0 // Workshop 2: Sensors, Arduino, & Interactive Media

#MovableParty Workshop 2 was about the design of an interactive system. We placed sensors of various types on the handlebars of one of the bikes with a hub motor. Our workshop leader Steven Kemper mapped the pressure sensor data through Max MSP to demonstrate different effects (parameters of low-pass filter) on a song. The Hall Effect sensor was used to set the tempo of the audio playback. Jack Moreau is our DJ on the handlebars for this round! This workshop took place at Occidental College’s Brown LearnLab. Participants included students from Occidental College and members of The Bike Oven.

Arduino Interactivity Sensors workshop

Workshop #2: Sensors, Arduino, and Interactive Media

Movable Party Workshop #2

Our workshop #2 is happening on Sunday March 24, 2013. Get psyched!

In this workshop, we will introduce the design of the project’s interactive media/music system. In particular, we will explore interactivity and the Arduino microcontroller platform by attaching sensors to the bikes and using the resulting data to control musical output. Specifically, we will be using Hall effect sensors to measure the speed of the rear wheel of the bike, as well as pressure and flex sensors to capture movements of the riders. We will also discuss issues of design and physical computing—using sensors to translate (transduce) action in the physical world into computer data.

Time: Sunday March 24, 2013, 2:30pm
Place: Brown LearnLab, library
The Bike Share will buy some pizzas for us.

The workshop should last 2.5 hours. If you want to get a head start on the workshop, read these two posts by Steve:

This is the beginning of the interactive music design. If you would like to learn about robotics and interactive media design, this is it for you!

Arduino Interactivity Music Sensors

RPMs to BPM

Well, more like RPMs to playback speed. The video below shows how I’ve hooked up the hall effect sensor to Max in order to control playback speed of a sound file.

Movable Party–Hall Effect Playback Speed Demo from Steven Kemper on Vimeo.

Interactive DJ

Moveable Party will feature traditional DJ sets (bicycle-powered of course) as well as interactive DJing that uses sensors attached to bikes to control parameters of sound production/processing. The goal is to design an interface in Max that mimics those found in traditional DJ software. The interactive DJs will be able to map the sensors on the bike to various modes of sound control. For example, the speed of the rear wheel could control playback speed (as in the example above), or tempo of a step sequencer. Pressure sensors mounted on other parts of the bike, for example the handlebars, could be mapped to a variety of different types of processing, including EQ, Delay, Volume (enveloping), etc.